


Technical specifications
- 💪 Working Load Limit
- 🔩 Build Finish
- 🛻 Model Specific Fit
- 📦 What's Included
SAVAGE RECOVERY POINTS BYD SHARK 6
SAVAGE RECOVERY POINTS BYD SHARK 6 is backordered and will ship as soon as it is back in stock.
Couldn't load pickup availability
Technical specifications
- 💪 Working Load Limit
- 🔩 Build Finish
- 🛻 Model Specific Fit
- 📦 What's Included


SAVAGE RECOVERY POINTS BYD SHARK 6
The Savage Offroad BYD Shark 6 recovery point kit gives you a proper recovery solution when the factory tow and tie down points simply aren't designed for serious vehicle recovery. Each recovery point is rated to a 5,000 kg Working Load Limit, giving you strong, accessible anchor points at the front of your Shark 6.
Key Features
- 5,000 kg WLL per recovery point rated for real recovery loads, not just trailer duty.
- Dual recovery points use them individually or together with a suitable recovery bridle.
- Multiple access positions easier shackle attachment when you're working in tight conditions.
- Powder coated red finish durable and corrosion resistant.
- Both recovery points and fitting hardware included both recovery point assemblies with bolts, washers and nuts on a stick, the long silver components that let you position the nuts inside the chassis rail where access is limited. Shackles are not included.
- Vehicle specific fitment designed specifically for the BYD Shark 6.
- Bolt on installation no drilling or vehicle modifications required.
Fits BYD Shark 6 2025 onwards. Ready to ship fast from our Loganholme QLD warehouse.
Buy now, pay later with Klarna, Zip or Afterpay. Australia wide delivery.
FAQ
Can I recover using one recovery point, or should I use both with a bridle?
Each recovery point is independently rated to a 5,000 kg Working Load Limit and can be used individually where appropriate.
For more demanding recoveries, we recommend using both recovery points with a suitable recovery bridle. This distributes the recovery load across both sides of the vehicle rather than concentrating it on a single point. Using both does not double the rating. Always select recovery equipment and techniques appropriate for the conditions.
Does this fit my BYD Shark 6?
Yes. The kit is designed specifically for the BYD Shark 6 2025 onwards and bolts directly into position with no drilling or permanent modifications required.
What's the Working Load Limit?
Each recovery point is rated to a 5,000 kg Working Load Limit (WLL). Use one point, or both with a bridle for harder recoveries. Using both does not double the rating.
What's included in the kit?
The kit includes both recovery point assemblies, bolts, washers and nuts on a stick. The long silver nuts on a stick make installation easier by letting you position the nuts inside the chassis rail where access is limited. Shackles are not included.
Refund Policy
Customer satisfaction is always the top priority at Savage Tech Australia. Our dedicated quality assurance teams check your items before shipment.
Our product quality is guaranteed. If you are not satisfied with the items received, we can easily arrange a refund for you. You can return items for a refund within 30 days of the date you received them, in their original state (opened and unused), with your receipt or proof of purchase.
Note: No Refund for Special Order
Shipping
We value each and every single customer. Our top priority is making sure the items get delivered to our customer as soon as possible.
All products are processed within 36 hours and sent to the fulfillment center for dispatch, you will receive a confirmation email with your tracking information. Orders usually arrive within 2 days of being processed, depending on your location and the weather.
When we are experiencing a high volume of orders, shipments may be delayed by a few days. Please allow additional days in transit for delivery. If there will be a significant delay in shipment of your order, we will contact you via email or telephone.
Search by Your Vehicle
Why Choose Savage Tech Australia
-
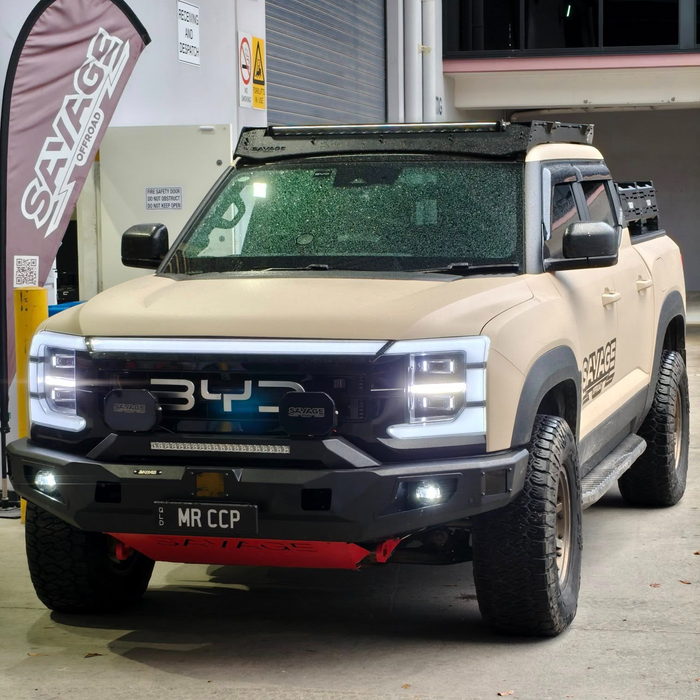
Built for Chinese 4x4s
We specialise where others don’t. Our gear is designed specifically for GWM, LDV, and other Chinese utes — no guesswork, no forced fitments.
-
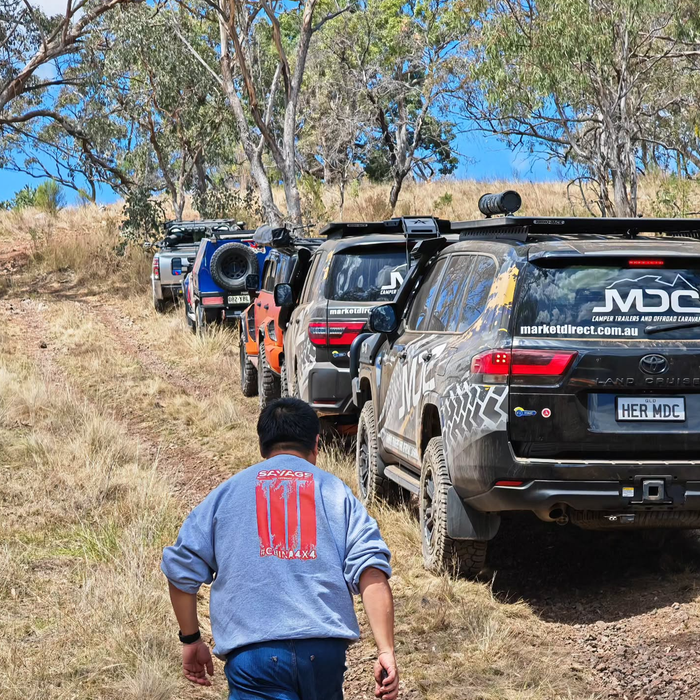
Aussie Owned & Operated
Local support you can count on. From our warehouse in Loganholme, QLD, we provide fast shipping, real advice, and service that understands Aussie conditions.
-
Performance Meets Affordability
Premium doesn’t have to mean overpriced. We deliver top-quality parts without the 4x4 tax major brands charge.
